/ Knowledge Center / Matting Technical Info / Repairing an Ergomat Mat

Repairing an Ergomat Mat
Expand Your Knowledge
Ergomat Mat Cutting & Safety Guide For On-Site Installation & Repairs:
Important Notice
Field cutting, trimming, or modifying Ergomat mats must be performed carefully and only when necessary.
Improper cutting may impact performance and can void product warranty.
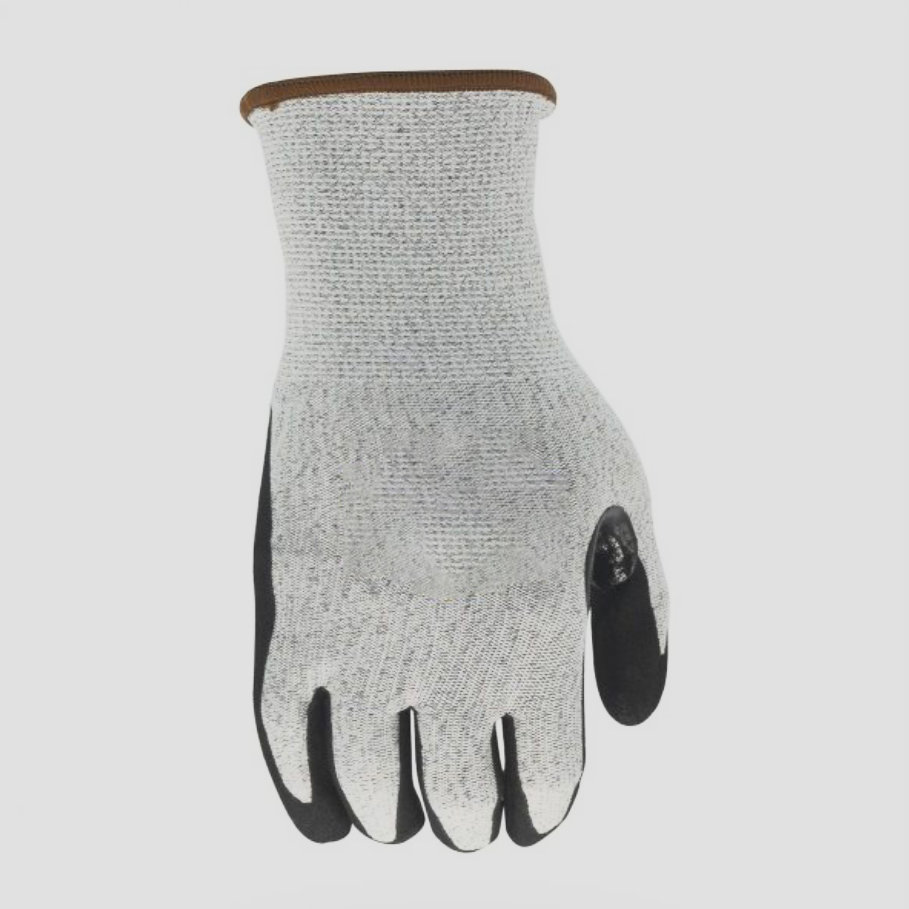
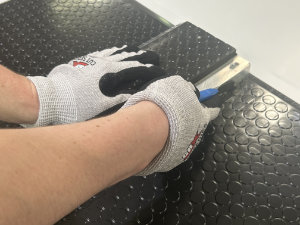
Required Tools
| 1. Razor knife with break off blades. | 2. Cutting gloves | 3. Cutting board w/ straight |
 |  |  |
General Safety & Best Practices
- Always use a sharp blade. A dull blade will tear the material and create uneven edges.
- Use break-off blades frequently. Snap to a new segment as soon as cutting resistance increases.
- Wear cut-resistant gloves at all times
- Retract blade when not in use
- Use multiple knives on large projects. Improves efficiency and maintains clean cuts
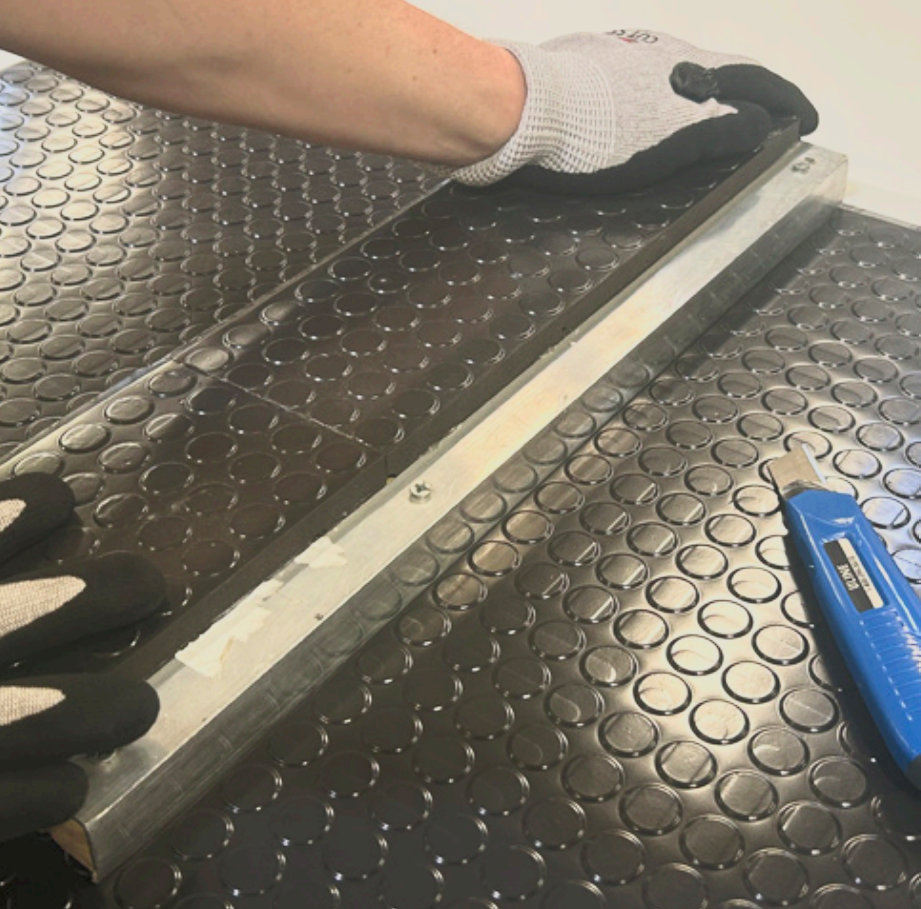
Ergomat Cutting Process
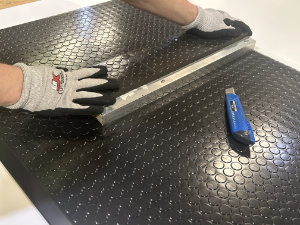 | 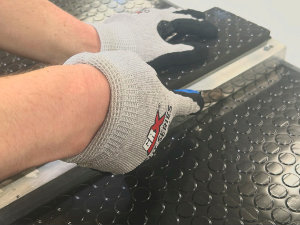 |  |
Step 1 – Setup & Alignment
Important
| Step 2 – First Cut (Scoring Pass)
| Step 3 – Second Cut (Final Pass)
This ensures:
|
Critical Quality Notes
- Never create multiple cutting paths
This produces debris/shavings and uneven joints - Avoid angled cuts
Leads to gaps and weak seam bonding - Clean edges = strong seams
Essential for long-term performance and durability
Follow our simple instructions for repairing your matting.
The necessary materials and procedures for repairing an Ergomat are different depending on if the mat is polyurethane or rubber. For small repairs, Ergomat can supply an appropriate repair kit. For larger repairs, it is best to contact Ergomat. In every case it is also advisable to email photos of the damage that needs to be repaired.
Polyurethane is typically repaired with a 2 part activated adhesive that is applied with a small paint brush, or an instant adhesive for small tears. Although the video below shows the process for bonding a regular seam, the procedure would be the same for fixing a small irregular tear.
Rubber mats are repaired with a small amount of an instant adhesive as shown below.
Instructions for bonding the seams or tears in ERGOMAT rubber mats with instant adhesive.
| 1. Mat faces should be bonded from the underside when possible. | 2. Apply Instant Liquid adhesive to one edge of a mat that is to be bonded. | 3. Bond the edges. Perfectly align edges to be bonded. | 4. Below, you can see that the seam of the bonded mat is almost imperceptible. | |
 |
 |
 |
 |
Again, although this bonding process is indicated with a regular seam, the repair process for small, irregular tears should be similar.